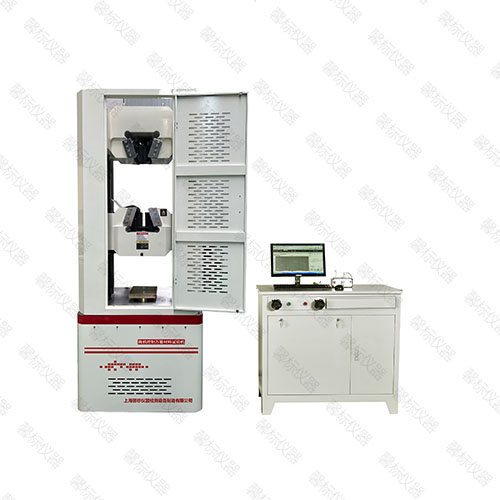
Equipment name: Microcomputer Controlled Screen Display Hydraulic Universal Testing Machine
Equipment model: XBY4305
Product Introduction:
This testing machine is an important instrument and equipment for testing the physical properties, mechanical properties, process performance, structural seismic strength, and internal and external defects of various materials and their products in various environments and simulated states. It can achieve closed-loop control of constant rate loading, constant rate deformation, constant rate displacement, constant rate strain, etc. During the experiment, the three control methods can be smoothly switched according to the set program. It is possible to conduct tensile, compressive, bending, shear and other types of tests on metal or non-metal materials according to corresponding standards. The software can automatically calculate parameters such as ReH (upper yield strength), ReL (lower yield strength), Rp0.2 (specified non proportional tensile strength), Rt0.5 (specified total tensile strength), Rm (tensile strength), E (elastic modulus), etc., and can perform process qualification performance verification tests on materials or products. Can meet the special testing requirements of users (if necessary, additional fixtures and deformation measurement devices can be configured).
Conduct tests and provide testing data in accordance with international standards such as GB, ISO, JIS, ASTM, DIN, etc.
application area
This machine is widely used for material inspection and analysis in industries such as building materials, aerospace, machinery manufacturing, wires and cables, rubber and plastics, automobile manufacturing, powder metallurgy, new materials, composite materials, and new energy. It is an ideal testing equipment for scientific research institutions, universities, industrial and mining enterprises, technical supervision, commercial inspection and arbitration departments.
Applicable standards:
GB/T 2611-2022 General Technical Requirements for Testing Machines
JB/T 7406.1-1994 "Terminology of Testing Machines - Material Testing Machines"
GB/T 16826-2008 "Electro hydraulic Servo Universal Testing Machine"
GB/T 16825.1-2008 "Inspection of static uniaxial testing machines - Part 1: Inspection and calibration of force measuring systems for tensile and/or compressive testing machines"
GB/T 22066-2008 "Evaluation of Computer Data Acquisition System for Static Uniaxial Testing Machine"
JJG 139-2014 "Tensile, compressive, and universal material testing machines"
JB/T 6146-2020 "Technical Conditions for Stretchers"
JB/T 6147-2007 "Technical Requirements for Packaging, Packaging Marking, Storage and Transportation of Testing Machines"
GB/T 228.1-2021 "Tensile Test Method for Metallic Materials"
GB/T 7314-2005 "Test Method for Room Temperature Compression of Metallic Materials"
GB/T 232-2010 "Bending Test Method for Metallic Materials"
Equipment Technical Parameters
| name |
XBY microcomputer controlled screen display hydraulic universal testing machine |
| Host parameters |
| model |
XBY4305 |
| Maximum test force |
300KN |
| Number of pillars |
April 6th |
| Host size |
Approximately: 670 × 450 × 1900mm (excluding piston stroke) |
| Size of oil source control cabinet |
1080*600*1010mm |
| Oil pump motor power |
1.1KW |
| Power of the crossbeam lifting motor |
AC380V/0.55KW |
| Power Supply |
AC380V,50HZ |
| Weight of four column host |
About 1500KG |
| Weight of six column host |
About 1600KG |
| Oil source weight |
About 250KG |
| Maximum tensile test space |
600mm |
| Maximum compression space |
600mm |
| Piston stroke |
250mm |
| Piston diameter |
150mm |
| Effective testing width |
440mm |
| Maximum moving speed of piston |
100mm/min |
| Lower crossbeam lifting speed |
200mm/min |
| clamping system |
Wedge type hydraulic built-in automatic clamping |
| Flat specimen clamping thickness |
2-15mm |
| Circular specimen clamping diameter |
φ10-φ20、φ20-φ32mm |
| Maximum clamping width of the board sample |
70mm |
| Bending test roller spacing |
0-400mm |
| Roller width |
140mm (expandable) |
| Roller diameter |
30mm (expandable) |
| Standard pressure plate maximum diameter |
φ150mm |
| Test bench safety device |
Limit protection, emergency stop |
| Host test space structure |
Pull up and press down |
| Measurement parameters |
| Testing machine level |
Level 1 |
| Test force measurement range |
2% -100% FS (full scale) |
| Experimental power resolution |
1/300000FS of full range (unchanged throughout the entire range, without gear division) |
| Accuracy of test force indication |
≤ ± 1% of the indicated value |
| Displacement measurement resolution |
0.01mm |
| Displacement measurement accuracy |
≤ ± 1% of the indicated value |
| Deformation measurement range |
2%—100%FS |
| Deformation measurement accuracy |
≤ ± 1% of the indicated value |
| Deformation measurement resolution |
0.001mm |
| Data collection speed |
50HZ/s |
| Hand controlled box |
Up button: clamp and release the upper jaw/middle button: move the middle crossbeam up and down/down button: clamp and release the lower jaw |
| work environment |
Room temperature -35 ℃, relative humidity not exceeding 80%; |
| remarks |
High temperature furnaces and other auxiliary fixtures can be expanded according to user requirements |
| Random data |
| Packing List |
1 copy |
| Warranty Certificate |
1 copy |
| Factory inspection certificate of conformity |
1 copy |
| User Manual for Testing Machine |
1 copy |
| Software User Manual |
1 copy |
| Software backup CD (USB drive) |
1 copy |
| Random data for computers and printers |
1 set |
| The following configurations are not standard configurations (to be provided by the user) |
| The user should clarify the test methods and standard specifications referenced for the experiment; |
| Provide test samples completed on this machine for product testing, factory inspection, and commissioning testing; |
| The space, foundation, power supply, etc. required for product installation; |
| Responsible for receiving, storing, and relocating products; |
| N46 anti-wear hydraulic oil 60-80 liters; |
| Contact the local metrology department to conduct metrological calibration on the equipment. |
| Maintenance and upkeep during user use |
| Fixed and trained testers must be arranged to operate the product, and others are not allowed to operate it; |
| When using the product, operators should follow the training and guidance they have received to operate it correctly; |
| Operators should be proficient in the corresponding test standards in order to accurately judge the test results; |
| Operators must carefully read the user manual and software manual; |
| During daily testing, the equipment should be preheated for 30 minutes after starting, especially during low temperatures in winter; |
| At the end of the experiment, turn off the machine in the correct order and cut off all power sources; |
| After each experiment, the tester should use a metal brush to clean the remaining iron slag on the clamping surface of the jaws, so as not to affect the clamping of the next sample, and at the same time protect the tooth shape of the jaws from damage; |
| After each experiment, the tester should use a brush to clean the iron slag that falls on the lower jaw seat and worktable, in order to prevent the iron slag from entering the gap between the lower clamping oil cylinder and the screw, and losing the clamping oil cylinder and screw; |
| Test personnel should regularly check the oil level, fixture integrity, clean residue, apply rust proof oil, etc. according to the instructions; |
| If conducting brittle material testing, a self-made safety net can be used to prevent the sample from breaking and flying out, causing injury; |
| When there is an abnormal situation with the product, immediately turn off the power and stop the test; |
| If any product malfunctions are found, please contact our customer service department in a timely manner and do not disassemble it directly without authorization; |
| Do not modify the product on your own. |
The standard configuration may vary depending on the device's power value. Please call the official website at 400-855-1029 to obtain the latest technical solution. The above technical parameters are for reference only! |
 Pendulum impact testing machine
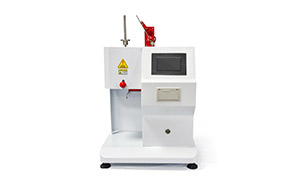 Plastic specific testing machine
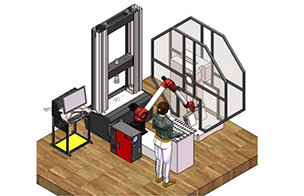 Automated testing plan
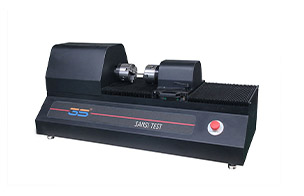 torsion testing machine
 Coulomb thickness gauge
 Metallographic auxiliary consumables
 Dynamic fatigue testing machine
 Electronic universal testing machine
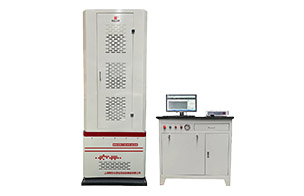 Electro hydraulic servo universal testing machine
 Horizontal tensile testing machine
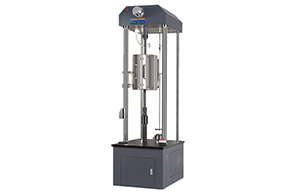 High temperature creep endurance testing machine
 Sansi Yongheng


